
I am quite proud of this project because it is the first thing I have done that really counts as electrician work (not that I ever plan to be an electrician, but it’s a useful skill). I have been playing with DC circuits for a while, but never with mains powered, 120V AC wires. While relatively simple, getting through it without electrocution or fire, and with everything working as expected, is a pretty satisfying.
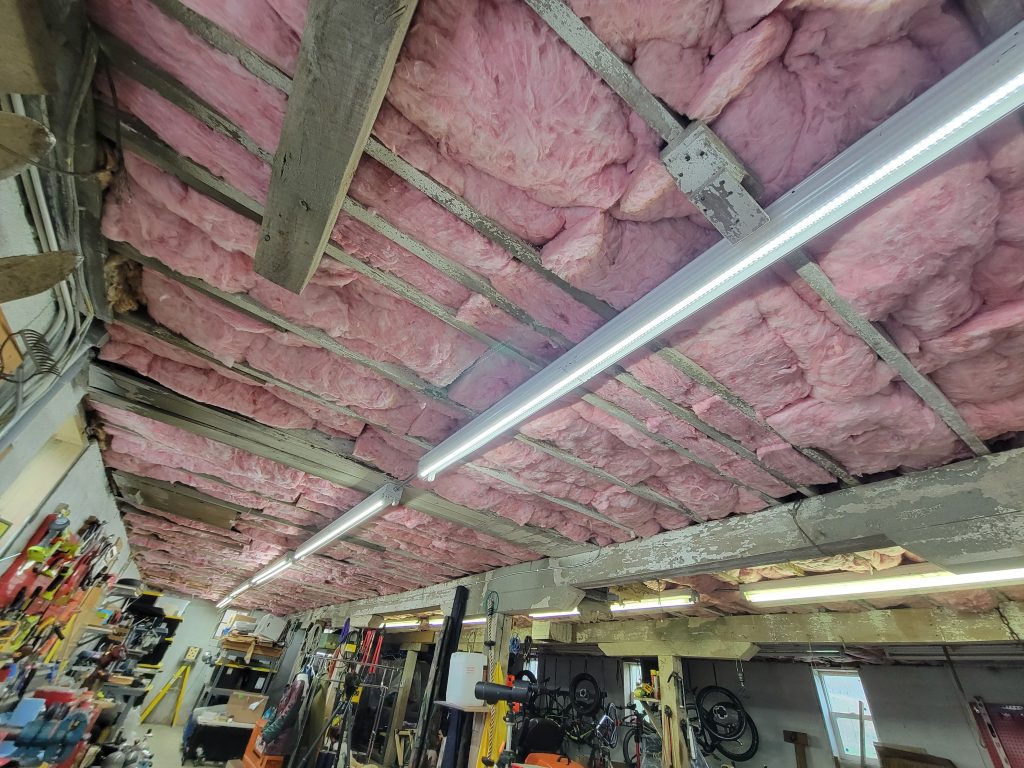
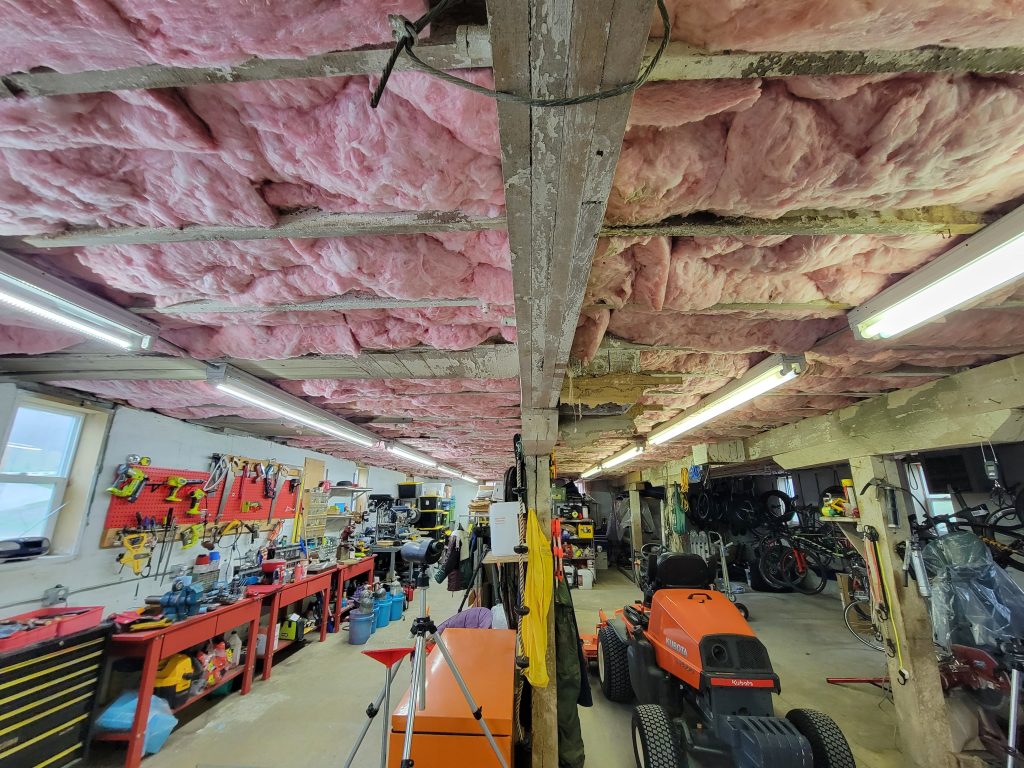
Our barn has a set of rather-aged fluorescent lights in the lower level, 8 feet long HO fluorescent tubes of the sort you often seen hanging in warehouses and parking garages. They are still quite common, but for good reason most new builds use LEDs. There are 18 enclosures and 36 bulbs total here (mounted in pairs), normally turned on only occasionally, but one row of them has seen rather a lot of use in the last year or two, over the main workbenches and a short shooting lane for my dad’s airgun practice.
That one row of lights alone uses a shocking amount of electricity. 110 watts x 12 bulbs is 1320 Watts, and that’s not accounting for losses in the fluorescent light ballasts as well. You could run six of my big computer workstations (which I built with efficiency in mind for components) on that much power easily, it is a lot of power. I swapped those old tubes out for 8 x 72 watt LED 8 feet tubes. Energy savings: 744 watts (estimated)!
You might be wondering how I got from 12 bulbs down to 8, and that is because the 72 watt LED bulbs, while not that much lower energy than the 110 watt fluorescent bulbs directly, are much brighter. In fact, one of the LED tubes here is brighter than both of the old bulbs combined, so going down to one light per enclosure was sufficient. For a few places in high work areas, double bulbs were still used and those places are now much brighter than before. I am not replacing the other two rows, as they aren’t used enough to make the efficiency gain seem worth it, and the old tubes from the replaced row can stand in as spares for the other.
At $210 for 12 bulbs, with some skill and time required, this won’t be for everyone. Perhaps the only visual con is that the LED tubes don’t have the “warm round glow” of the old tubes. You can clearly see the line of square LED chips when you look at the new lights. That said, the overall look is an improvement. The brightness is improved and the appearance of the bulbs themselves, combined with the daylight Kelvin (color) rating of the bulbs, gives that section of the barn a much newer, more modern, and more energetic look. The new bulbs also direct light better, with two strips in a v shape, which can be rotated as desired (although the light is already pretty uniform as is).
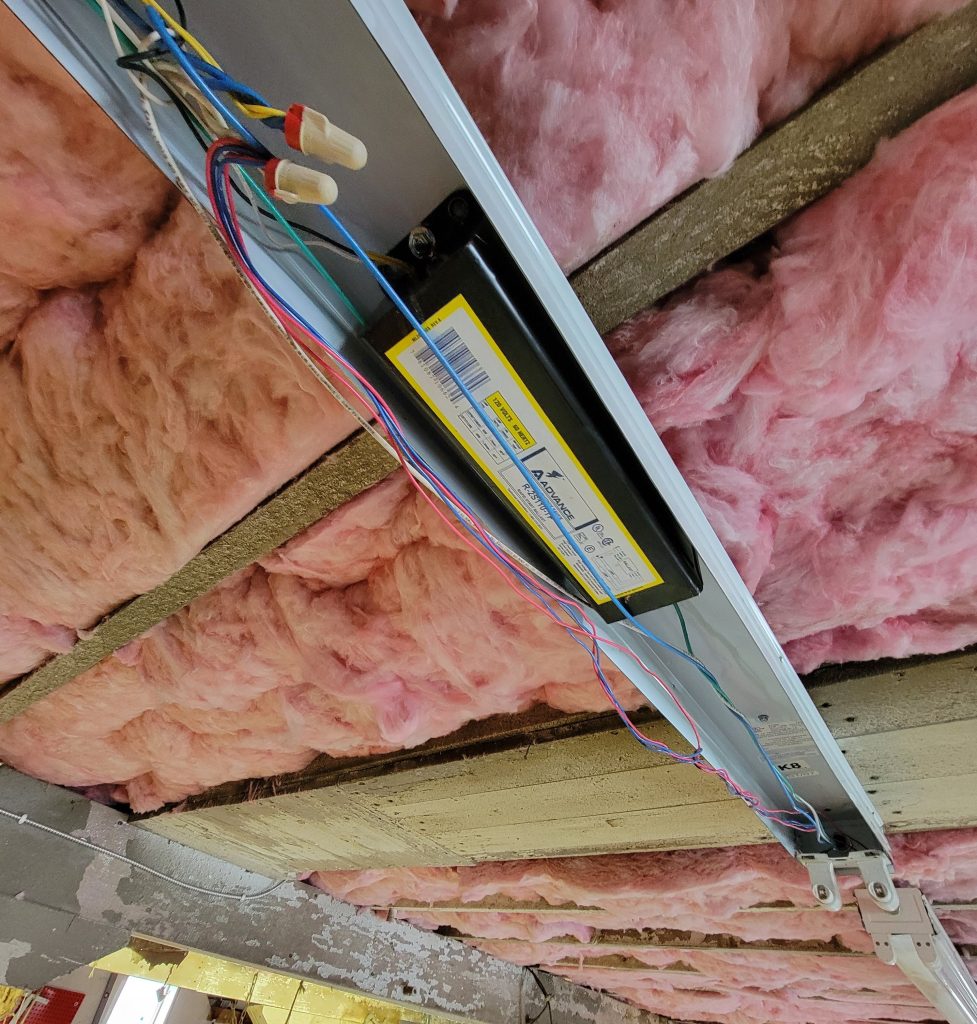
I used these JESLED R17D/HO 8FT LED Bulbs – (12 Pack) Rotate V Shape, 5000K Daylight 72W, 7200LM bulbs from Amazon. Best and brightest for a reasonable price I could find. My reading (and there are plenty of YouTube videos on selection and installation) suggested that the dual-end powered (one end negative, one positive) were the easiest to wire, and my wiring experience proved that to be true. Also make sure the bulb ends are the right style, or you will have to put in even more work swapping out the tombstones (the bits that hold the bulbs in and connected) of the enclosure. Plug-and-play (uses the existing ballast) type tempted me at work for simplicity, but bypassing the ballast turned out to be easy and it is lower maintenance in the long run, and a bit less energy used too. As a side note, I hadn’t even realized fluorescent lights needed something called a ‘ballast’ before this project.
Safety first. Switch off, circuit breaker off, and then care with handling wires is triplicate safety, to avoid electrocution. Also having a solid ladder when playing around with these things up in the rafters.
I was lucky and the existing installation was quite easy to convert. Clip off the connections for one end of the bulbs from the ballast and wire it directly to the positive (live) side. Repeat with the wires for the other end’s tombstones to the negative (neutral) side. Only in one case were the existing wires not long enough, and I used an inline fuse holder to add the extra extension needed. I reused the existing wire nuts, and in the one case of the extension, used Wago connectors. Old ballasts were left in place, completely disconnected. Wire cutter, wire stripper, and a big screwdriver were all I needed for tools. It took me about twenty-five minutes per fixture, including some cleaning. It could probably be done in as little as 10 minutes per fixture by someone with more experience.
My only change from the original plan was to skip the fuse holders I had bought (except in the case of the one wire length extension). The entire row of lights is on one circuit breaker, which is already overcurrent protection, and adding additional fuses to each fixture just seemed to be adding more potential failure points, so I skipped that.
Overall, highly satisfied with the project which saves energy, improves the look, reduces maintenance costs, and makes for a better workspace.