
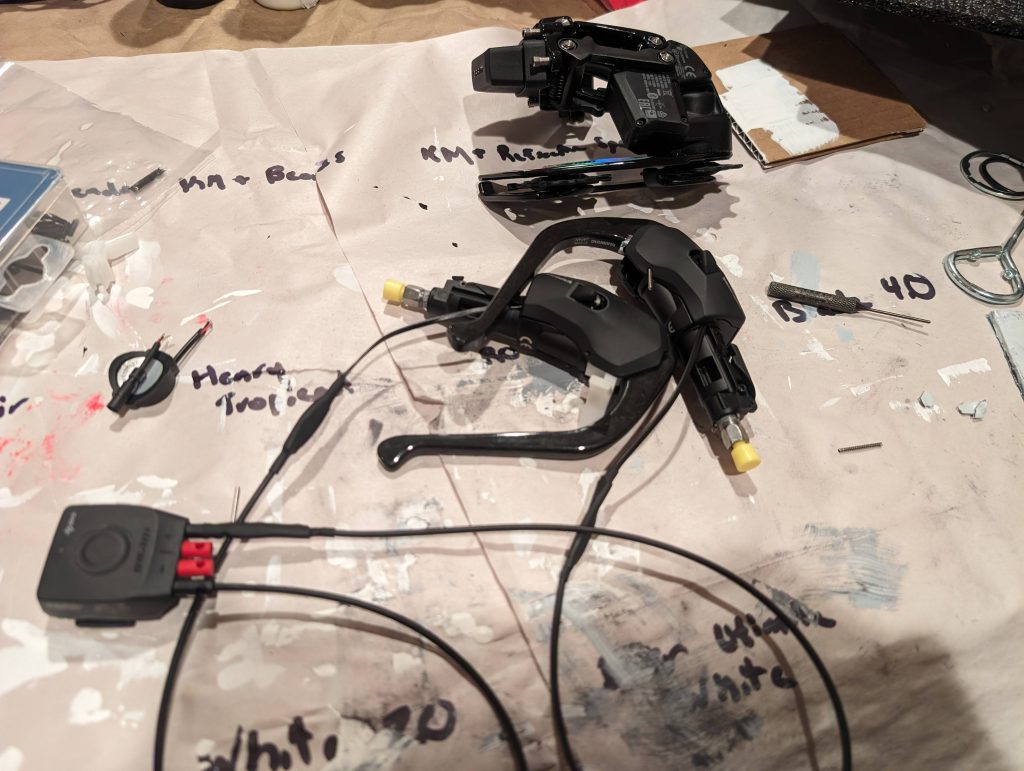
On my latest bike build, a Trek Speed Concept, I wanted to use Shimano Dura-Ace brakes, because the levers and brakes are a bit nicer than SRAM, with SRAM AXS shifting, which I prefer for being more completely wireless. I particularly like the integrated button the Shimano shifters have. It seemed like it would be an easy fix to make the Shimano button send a signal to the SRAM blip box, but it turned out to be a bit harder than expected.
What you need to know is that Shimano shifters are a complete little microcontroller, that send a signal to the derailleur that is a bit more complicated than a simple high and low as far as I could tell. SRAM blips and clics, however, are nothing more than a button, when pressed they take a “low” base signal and send it to a “high” voltage (1.8V as I saw). If you were to plug most Shimano shifter buttons into a SRAM shifter, the SRAM derailleur would shift irreversibly into the hardest gear, which is how it interprets the ~1.1V base signal level the Shimano button sends.
Right, then, so how do you make this all work? My solution was to be saved by an older Shimano part, the SW-R610 switch. This, the first generation Dura Ace Di2 sprint button, is a boring normal just-a-button button that can send the type of signal SRAM is expecting. It has roughly the same shape as the later button, although it is a bit thinner (fewer electronics inside).
Assembly:
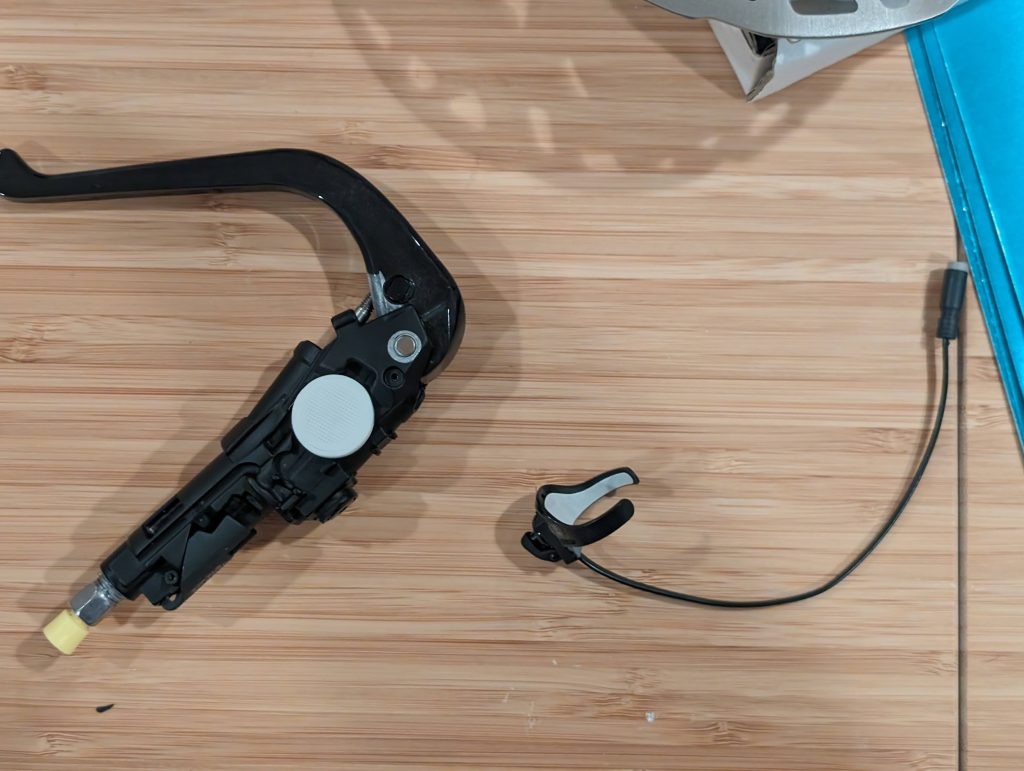
Step 1: use a 1.5 mm punch to remove the two pins holding together the Shimano R9180 shifter (Ultegra I believe is very similar, as was the older design).
Step 2: lift apart the two plastic halves of the brake enclosure. Remove the current button.
Step 3: cut off the little arms of the R610 switch, which were designed for wrapping around handlebars, so that it can now sit mostly flat against a surface.
Step 4: Place a small disc of some kind underneath the R610 switch so that it can fill the space where the original button was in the R9180 shifter. This was measured to be 19.4 mm by 4.0 mm, and in this case was printed on a 3D printer, but likely a small felt tab or other item could be used. Place the wires back in the way the wires were of the original Di2 button cable. Make sure the enclosure fits back together. Place the pins back in (later, after system is tested).
Step 5: Cut the wires on a SRAM Blip and on the switch button to separate them from the connectors. Make sure to place the cuts so the remaining wire is long enough. You want most of the wire on the SRAM blip connectors end and on the button end of the Shimano button. This is the scariest part, as none of these things are exactly cheap, and this step is irreversible.
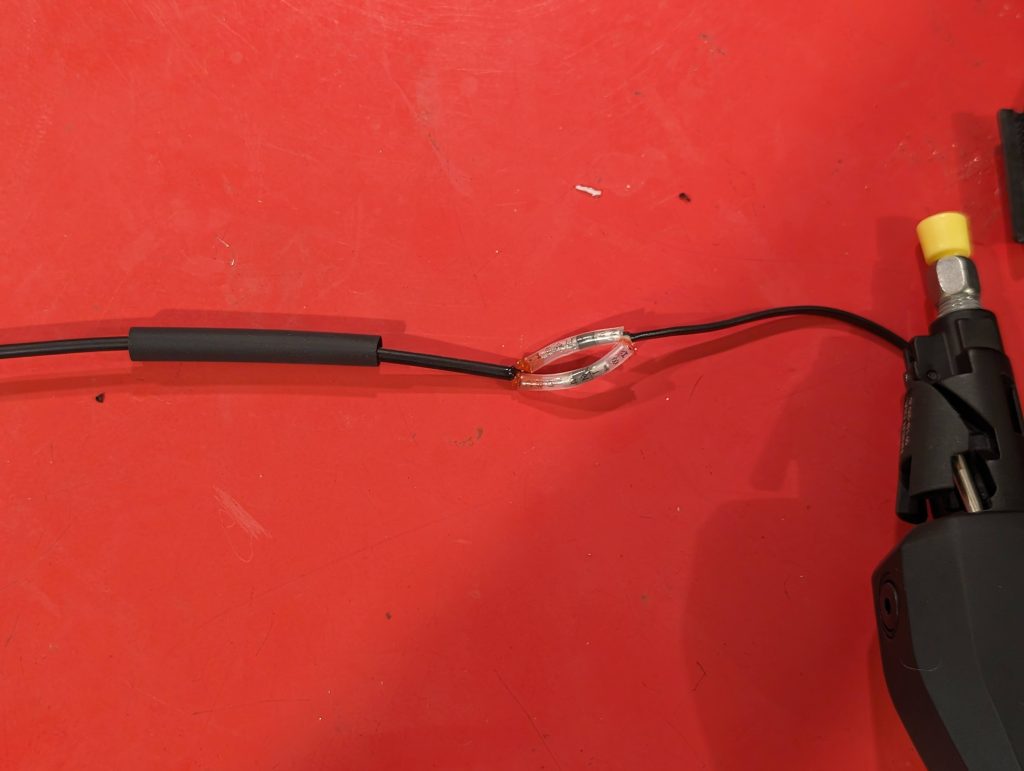
Step 6: Strip the ends of the wires and solder them together so the SRAM connector is matched to the Shimano button. I used solder seal wire connectors with a hot air gun. You can match color to color, but for a button like this, it won’t matter which is paired to which, as long as both wire pairs are separated and not accidentally shorted together. I then added another layer of heat shrink over the top. You want these connections to be pretty solid, because this is going to in a hard to remove, high-vibration location.
Step 7: Plug the new button into a SRAM blip box and test if it shifts the derailleur. This should be fairly safe, you aren’t likely to brake the connector or the derailleur, but if in doubt disconnect the button from the blip box immediately if not working.
Step 8: Mount the brake levers on your handlebars and enjoy.