
For the birdnetpi I have setup at home, there’s been a desire for a good microphone that can sit outside and pick up a wide recording of the general soundscape, in particular of the birds singing.
So far, I’ve tried a bunch of different microphones and all have worked. Note that this is after turning up the volume in the alsamixer, which is important. However one microphone in particular is well recommended on the forums, and after finding it performed well on my first installation, I now have set it up on the second. There’s just one caveat: it is only to be found as a microphone capsule, and that means it needs soldering up to a wire itself.
Parts List:
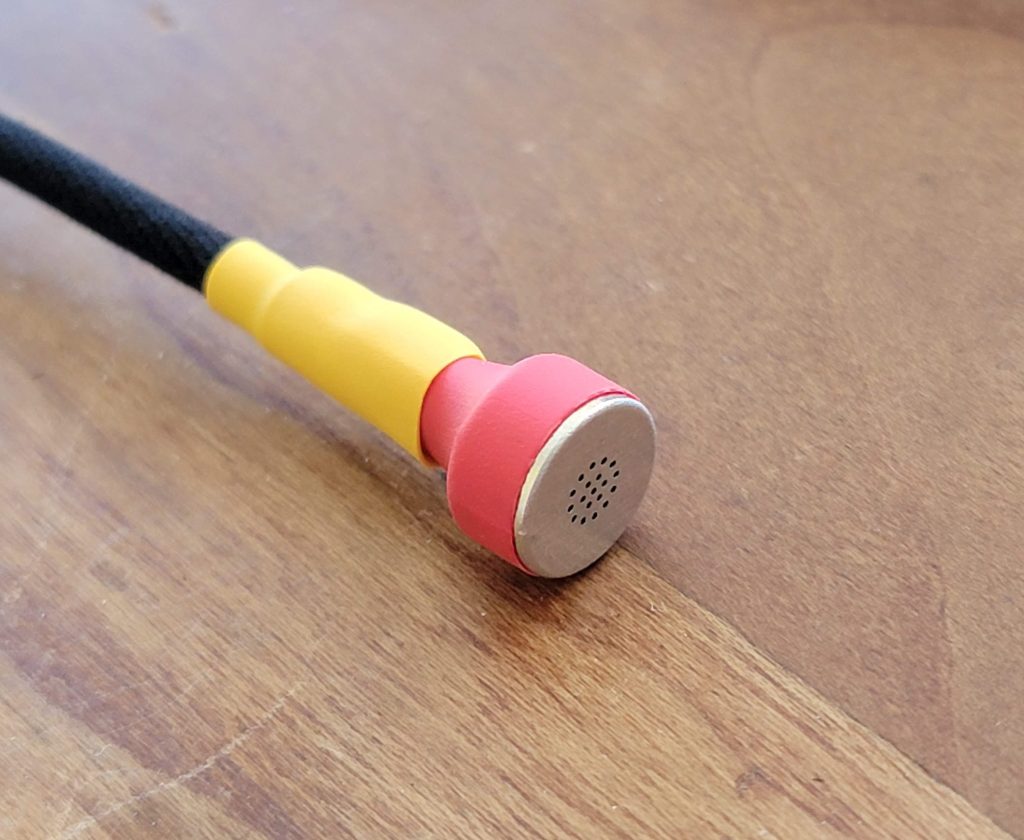
665-AOM-5024L-HD-R AOM-5024L-HD-R ELECTRET CONDENSER M
Ugreen 4 pole TRRS cable (or similar)
Ugreen TRRS to USB (optional, if plugging into a USB port as here)
You don’t strictly need a TRRS cable, but I am using one as I was considering doing a stereo 2 mic setup (but went with mono for simplicity). I also tried a CME-1538-100LB capsule which was easier as it had pre-soldered leads and is IP67 rated. The audio quality was perhaps a bit worse, but really my uncouth ear on a quick test observed that it seemed to work just fine too.
In this case, I cut the audio cable in half, then strip the casing around the end. There’s a outer layer of wrapped ground shielding and 3 inner cables. Having no idea which cable to use, I went and tried several combinations until I got it working. In the end, I went with the negative on the mic capsule to the ground shielding wrap and the orange wire to the positive terminal. I believe also connecting the other inner cables to negative worked as well, but that experiment was two months ago and I don’t entirely remember. That approach would free up the ground shielding for connecting to more shielding around the capsule, but as is this seems fine.
Apparently one has to be careful not to get the microphone too hot while soldering. I found that holding it on for a couple of seconds was fine, as it seems to work without issues, but perhaps longer is a problem. It is rather tricky to solder, I had to first separately solder the cables and the microphone capsule, all while the cables kept squirming away. Also be careful not to let any of the stray shielding cables create a short to the positive terminal.
Update 2025-04-28: followup on a question about whether this is “worth it” or not:
I think from my experience audio is usually “bad” due to reasons that aren’t the microphone capsule
- Noise in the power supply
- Environmental noise (wind, echoes in some rooms)
- “junk” components (most cheap microphones and analog usb converters are fine, but some are bad and you don’t know until you try)
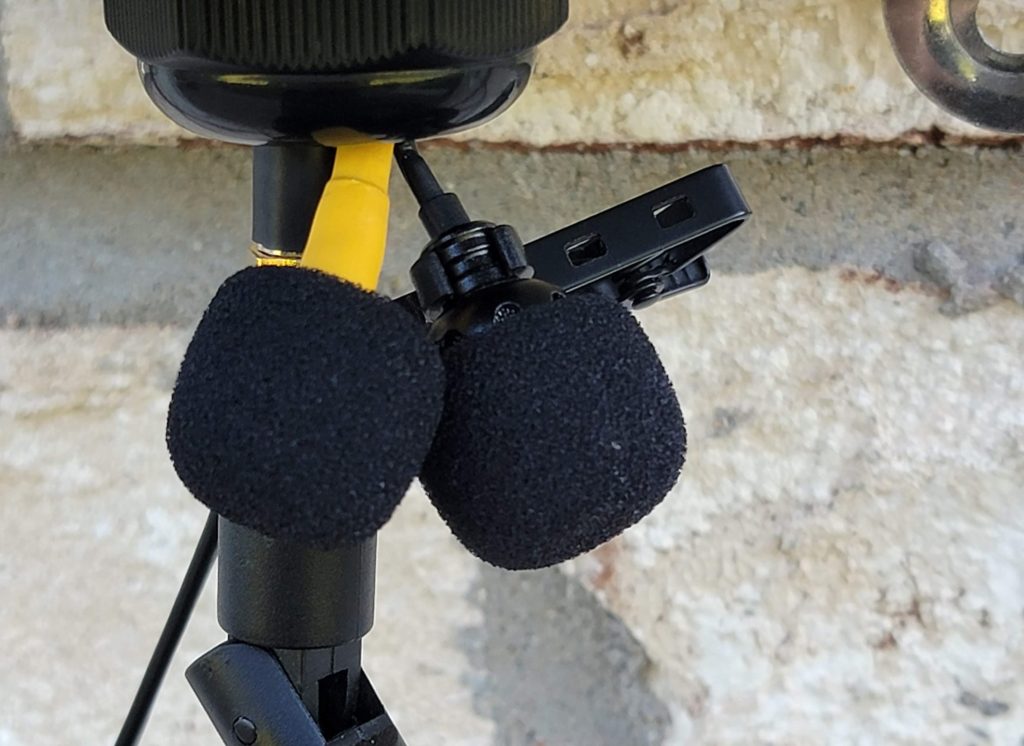
The AOM-5024 and a Rode mic I’ve used are both working well in my setup, better than the cheap lavalier, but I notice the improvement mostly in a cleaner spectrogram, to my ear the cheap lavalier is generally much the same. My conclusion, for “scientific” use or just being a perfectionist, yes, this is worth it, but if you are just starting out doing some basic music or podcast recording, a cheap mic is fine.
I was using this as part of a sound classifier, and there are a whole bunch of people sharing a discussion here that might help:
https://github.com/mcguirepr89/BirdNET-Pi/discussions/39
I am actually building a microphone array on a pcb using a lower SNR (73) mems microphone but with a very high quality power supply and low noise and rapid analog to digital conversion which I think might actually be a bit more reliable (and waterproof) than hand soldering the AOM5024 and hopefully lower noise overall when considering the full audio system. One of my soldered 5024’s has failed out, (solder joint failed and pulled away the tab) which is annoying – a problem you aren’t as likely to have with a purchased lavalier mic.
If you are wondering how to reduce noise in the power supply, here’s one possible approach that is fairly reliable and relatively low cost which should work for most uses. Get an ADUM4166 (or ADUM3166, and likely most others in that family) based usb isolator, then use a decent usb analog audio converter (ugreen makes some good ones, the apple usb-c dac dongle is well regarded), then use your analog microphone.