This winter was particularly harsh, with lots of young trees dying back or dying completely, even though they are supposedly hardy to much further north. This spring also saw a particularly powerful spring melt. And that, of course, is an erosion problem.
The valley here is in a fragile balance. It has never quite adjusted to changing human agricultural development and cycles of forestation. A tree falls, a field is plowed differently, and suddenly the water flow changes in ways the soil and vegetation can’t handle. And there is quite a lot of water here some springs, a small rivers worth of snow melt.
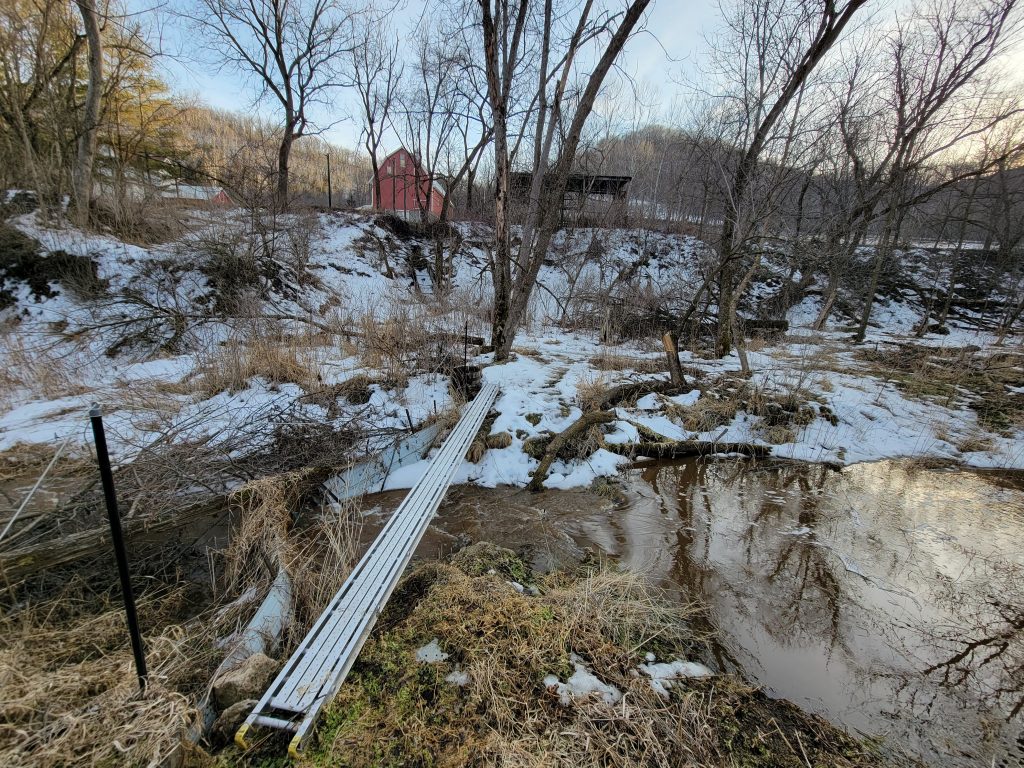
This year, a sinkhole that had been holding, forming a small pond, began to collapse upstream. Which is a problem because it will wash out the upstream trail crossing in a couple of years if not stopped.
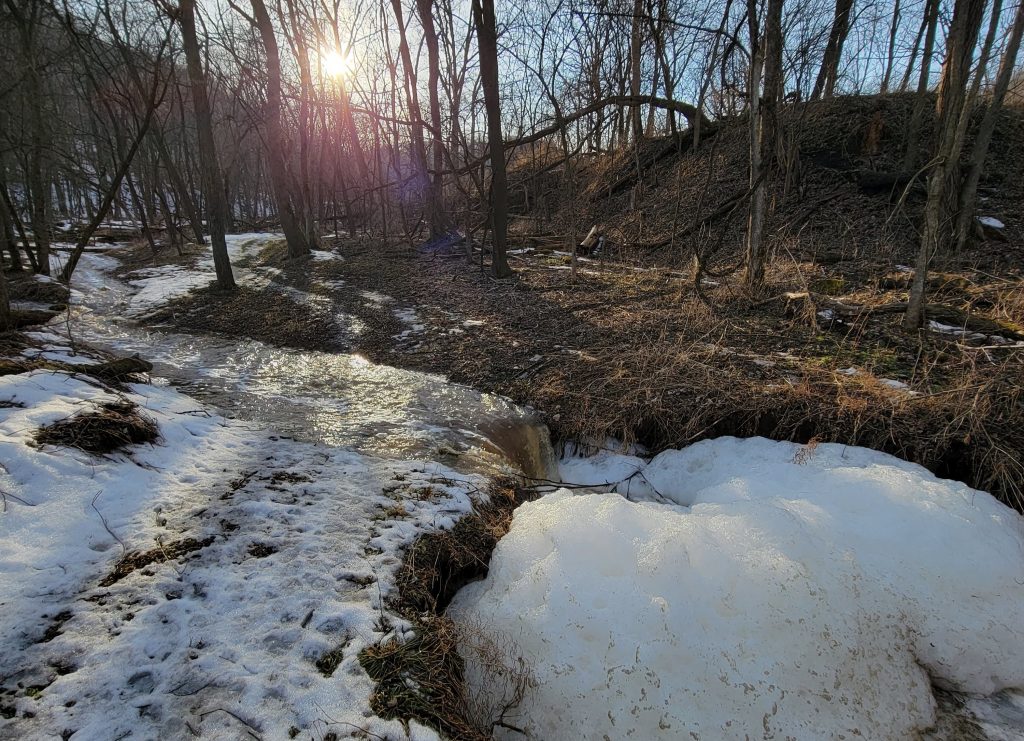
So the solution was to order three pallets of concrete, a bunch of precut rebar segments, and to grab the pick mattock. I was looking for a relatively low work and low cost solution, so I found by accident the solution of stacking of bags of concrete mix as a simple and effective retaining wall. It is is not as pretty as other approaches, but for this task, in the depths of a ravine usually covered by snow or nettles, pretty doesn’t really matter.
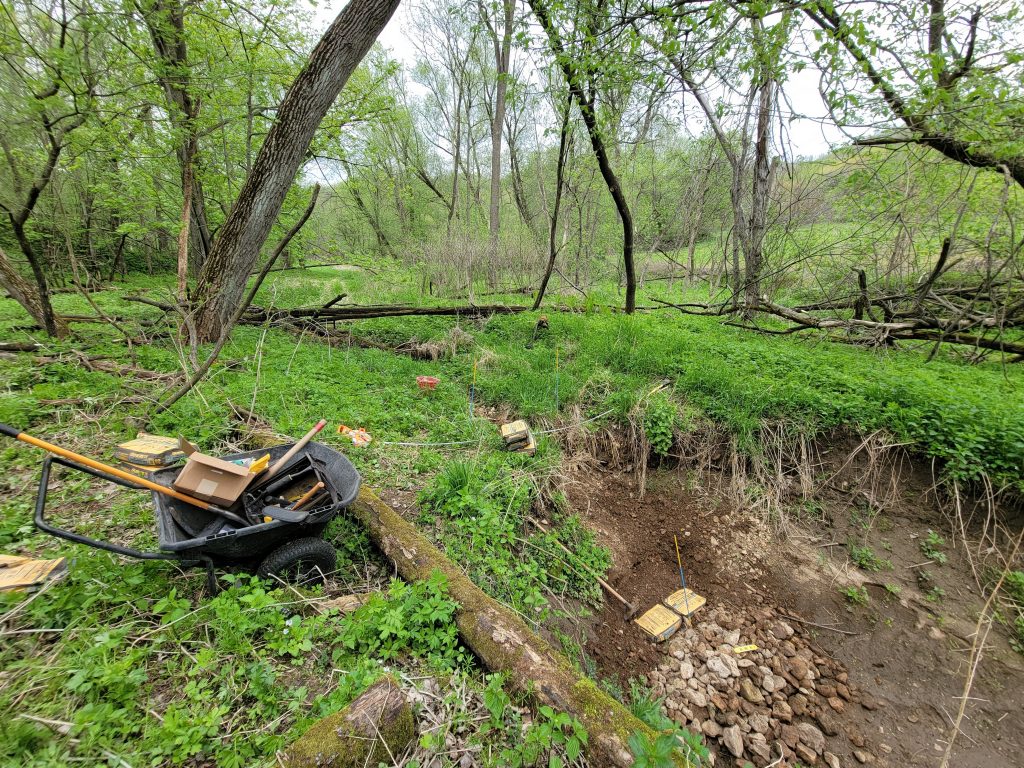
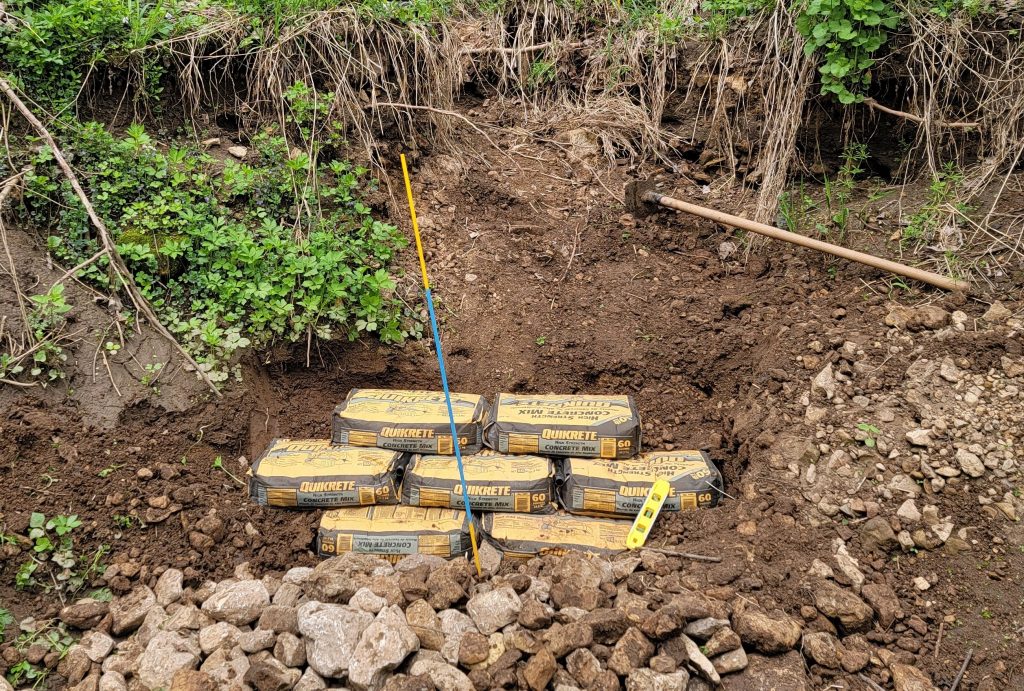
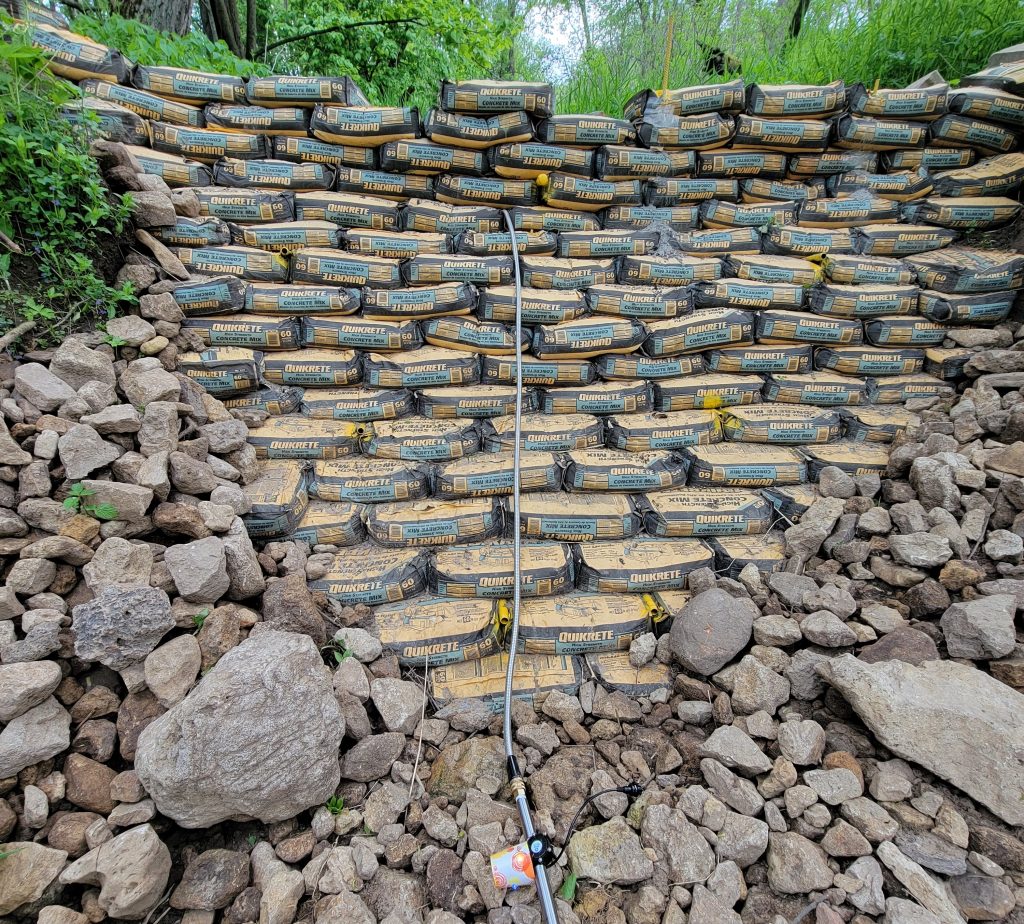
And, construction was pretty simple. I leveled the site a bit, then stacked bags up progressively backwards and outwards, with half a bag overlapping the previous and half the bag on backfill and halfway side-to-side like laying bricks. Sometimes I went mostly straight up, bags directly on top of each other, but I found that to not look as good, and is probably not as secure. Rebar pounded in an intervals for strength. A few drain pipes installed near the base. And up to past the edge of the sinkhole.
The design is pretty simple, two lower outlet pipes, one with a hose, so I could play with a microhydro generator. Then a flat top designed for water to flow over and down like a waterfall, in two levels, a sort-of ‘bite’ out for lower water flow, then across the entire top for high water flow. Finally, the most critical part, reinforcing and raising the edges of the dam so that water can’t go overflow and wash out around the side. Around a foot deep reservoir should form behind it before it overcrests the top during high flow, which reservoir will slowly be drained by the outlet pipes.
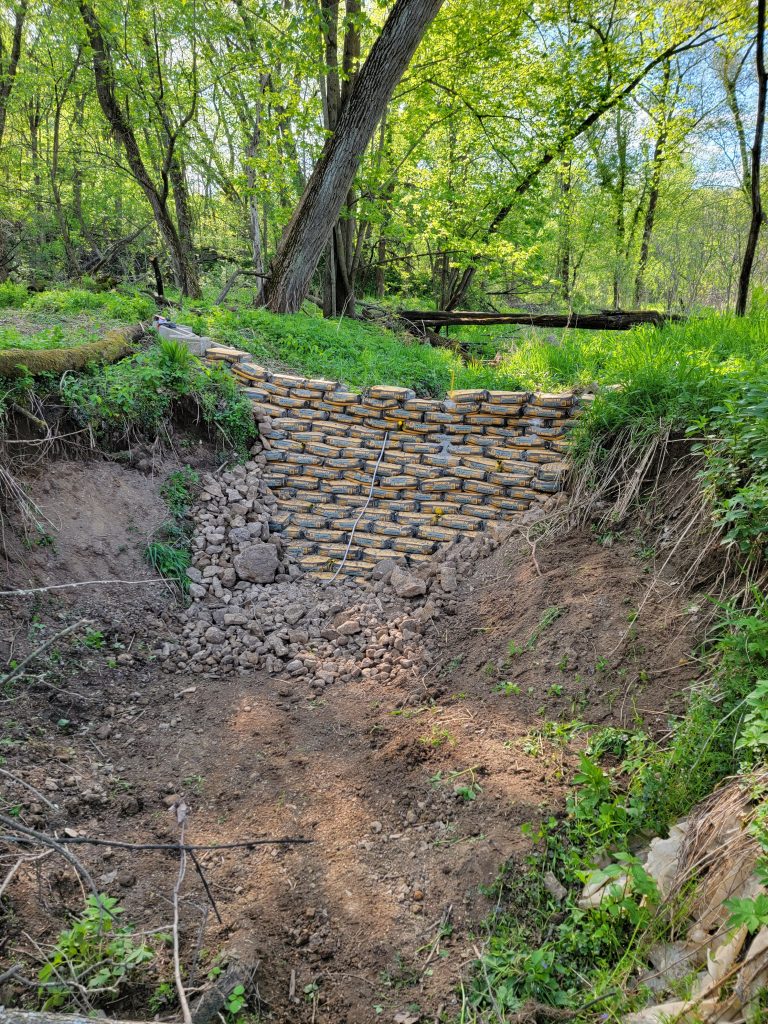
My biggest concern is the setting of the concrete. While I am fairly confident that the final product will be secure, heavy rain failed to set all the bags as thoroughly as hoped, with some still dry in the center. I think poking lots of holes in the tops of the bags (but not the sides, so it doesn’t leak out) would have helped. Setting up a sprinkler to wet the site for a while might be a good idea, but here the location was too far to make that practical.
To finish up, rocks around the edges to reduce erosion and planting of a native seed mix and grasses around the sides. The final dam was around 6 feet high and 15 feet wide (wider if the corner bastions are counted). I noted that bags can be ‘punched’ into shape a bit to make it prettier, as long as care is taken not to rip the bags. Small rips can be repaired with tape.
At the end, a large part of a pallet of mix remained that I then used to fix three other sites up a bit, although not as fancily. Here is one, attempting to contain a washout in a field where a culvert was set many years ago too low. Now, it should have a small rain garden to buffer flow into the ravine.
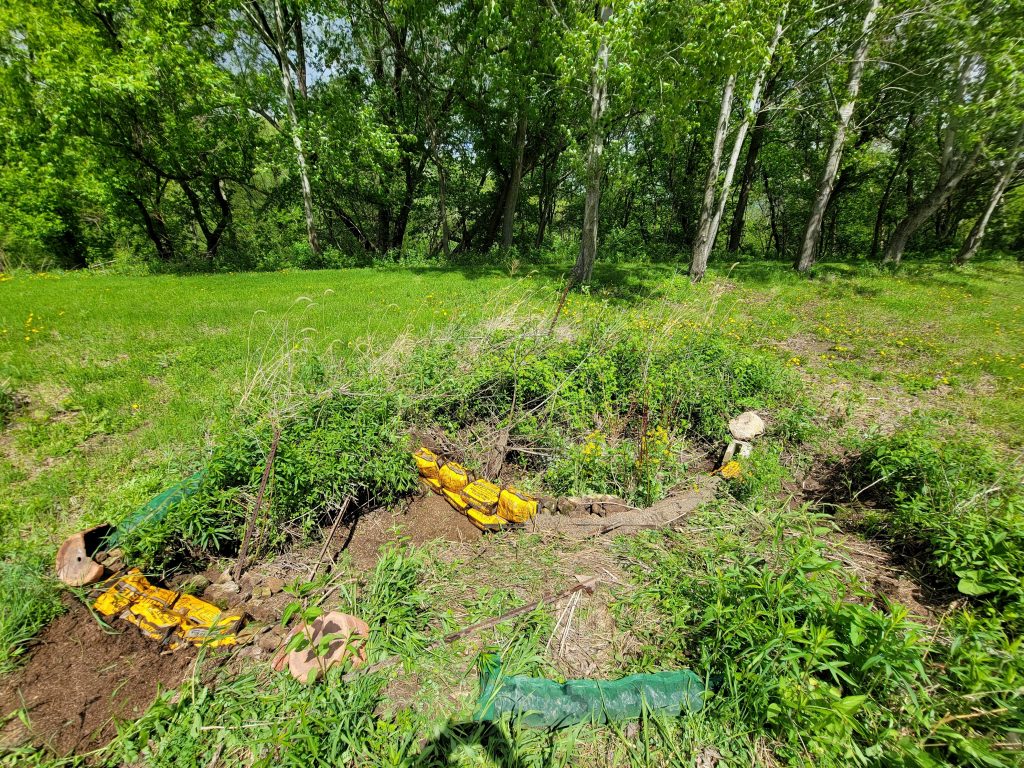
Overall, I was quite pleased with the concrete bag construction technique. I don’t think it would be suited for residential sites where looks matter, but here is is easy to work with, can be shaped to the shape of the site fairly easily, and is strong and secure even before setting.

Pingback: Dam it All – Syllepsis