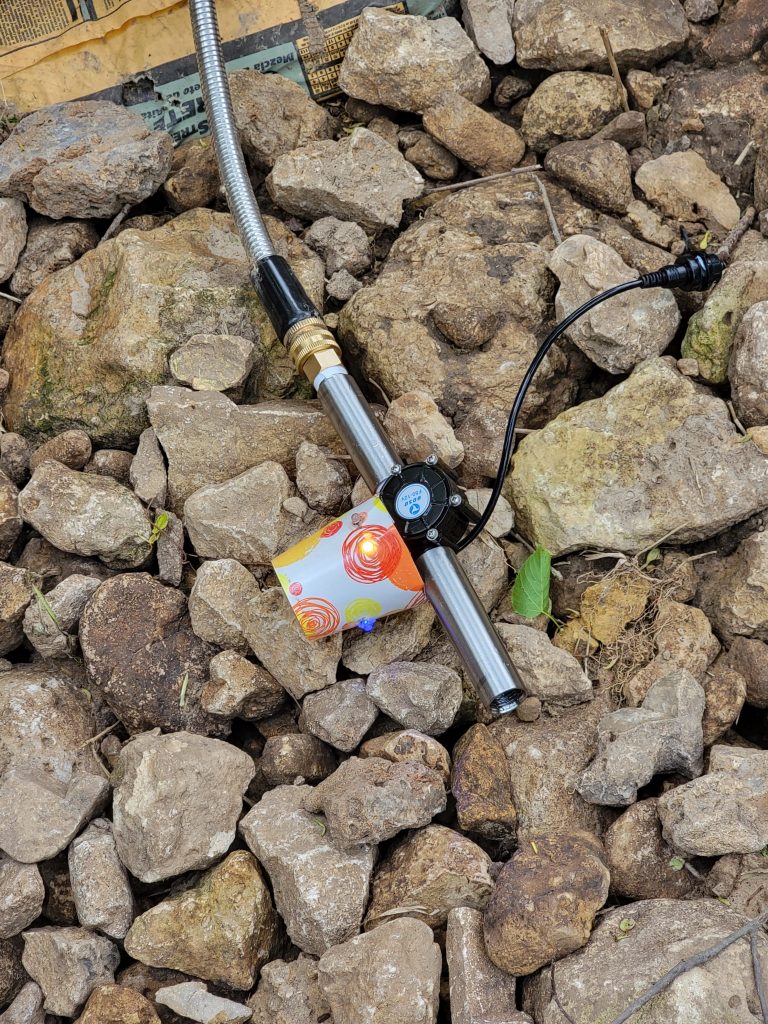
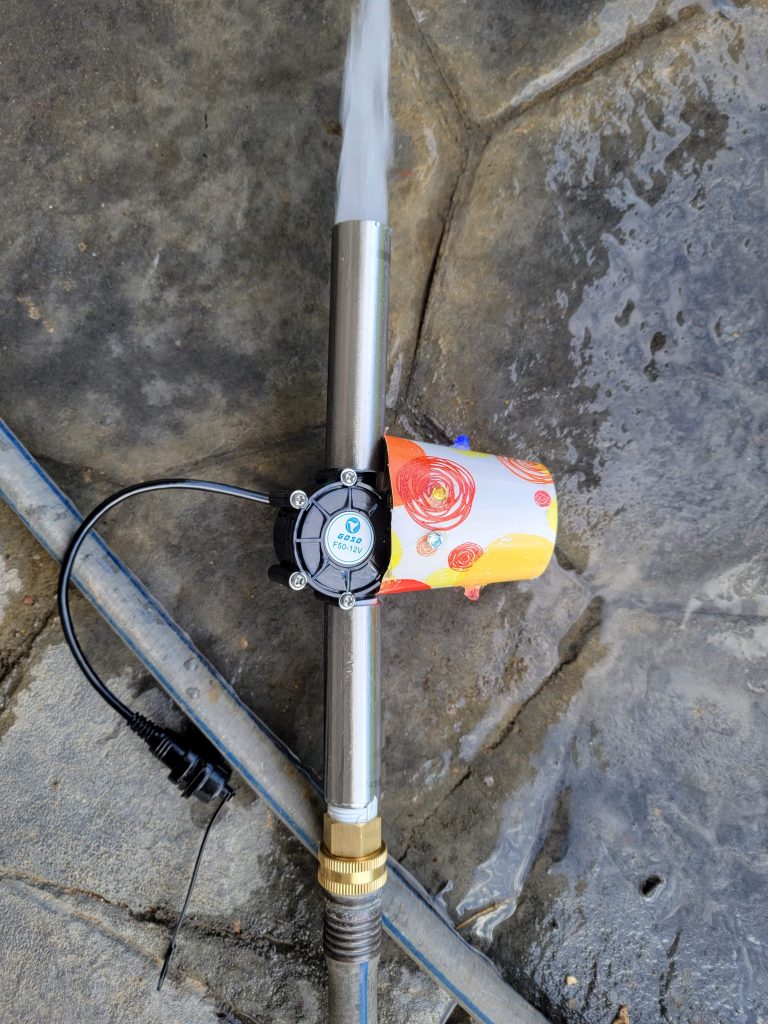
Power, glorious power!
That’s what I think when I see the stream raging through the ravine in early spring. I’ve wanted to put a hydroelectric generator in there for ages. There is one problem, there isn’t really enough water flow for enough of the year to do anything. Actually, it’s either dry or frozen solid for 95% of the year.
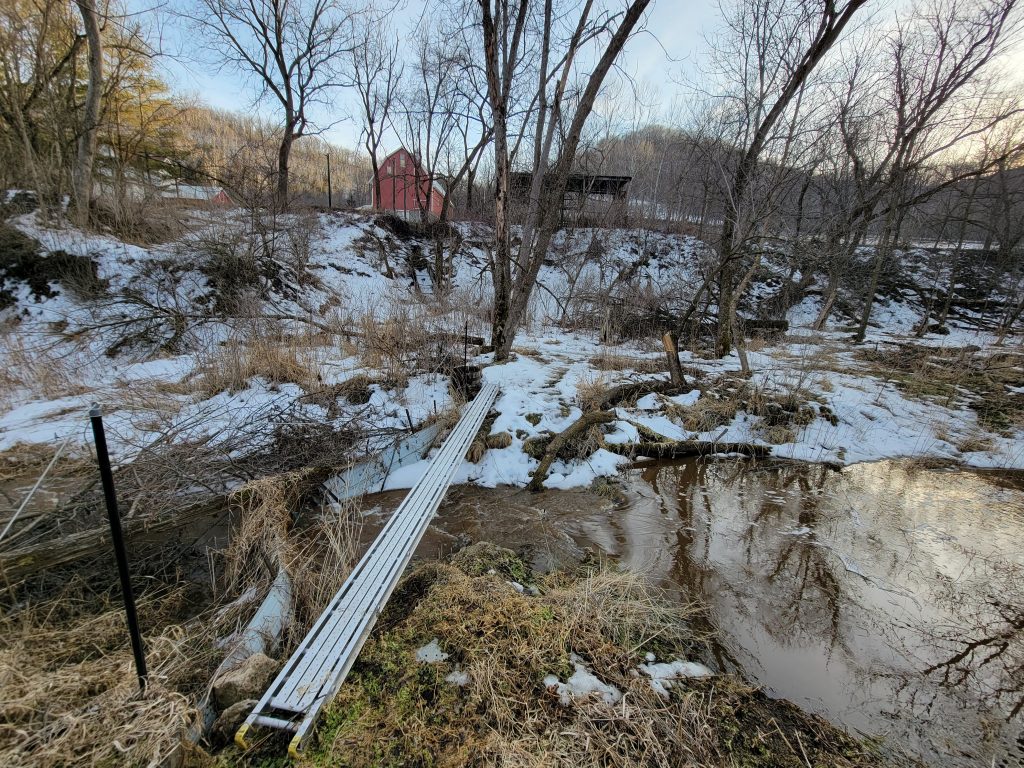
But, still, I want to do this. I need to do this. Enter the latest erosion control project, reinforcing a collapsing sinkhole with a check dam and retaining wall. Throw in a hose, and I’ve got 6 feet (2 meters) worth of elevation change, and thousands of gallons of water reservoir potential. That still isn’t remotely enough for a real home-powering turbine, but it is enough for a fun little project.
The core of this project is a micro hydro turbine. I bought mine off eBay. There appear to be two basic variations on this type of turbine from many sellers, one shorter and one taller, which I learned about in some details from this fellow’s YouTube videos. I also tested myself both of these.
My conclusion about the two turbines is the smaller one had a lower peak power, and a higher water flow required for startup, however it had the most consistent generation at different water flows and a more constant 12 volts. The bigger one started more easily and made more power with a smoother magnetic coupling, but at very high water flow that magnetic coupling de-coupled. The decoupling wasn’t harmful to the turbine, but it meant that power stopped being generated. It was rated to 12V but I saw up to 18.5V (looked like 6-7 watts peak) before cutout pressure was reached. This bigger one would be more useful if you were, say, hooking things up to indoor plumbing, but outside in my environment, it’s pretty much all or nothing – massively powerful flow (by the scales of these turbines) or none at all. So the smaller one which could handle high flows best was what I went with.
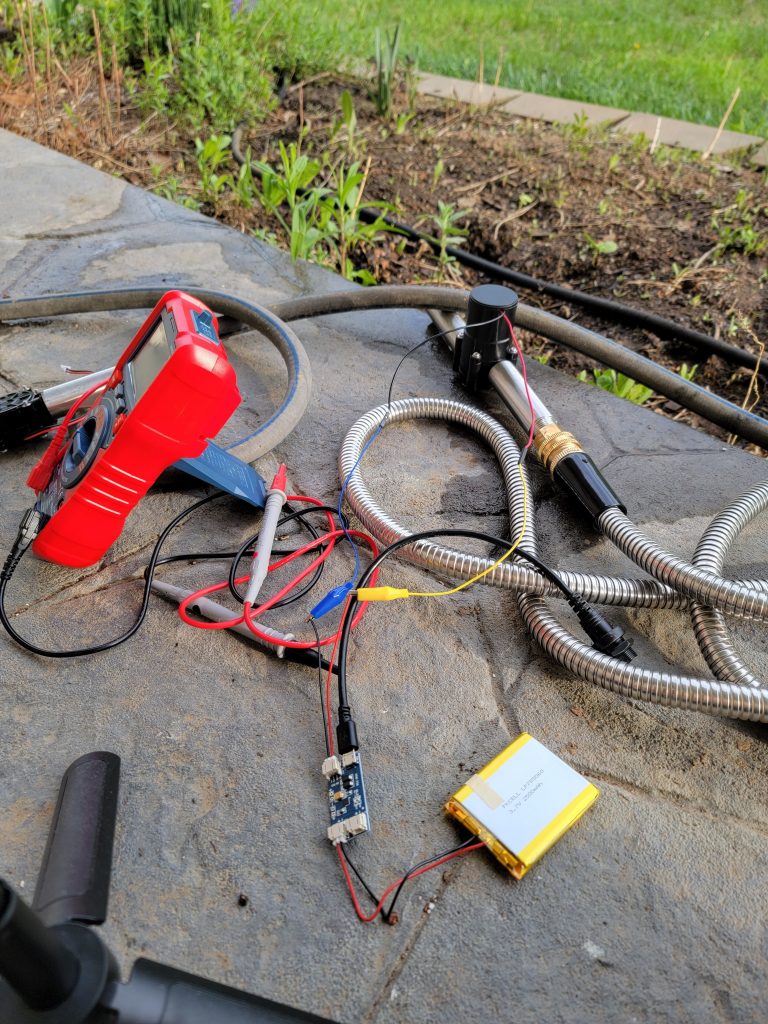
Both of these turbines worked with 1/2” threaded NPT pipes, and so could be coupled up using adapters to hoses or any other size of pipe thread. I also found some teflon tape useful for reducing leaks around connections (which wouldn’t be surprising to any plumber, but pipe work is not my area of expertise). I didn’t have any good way to measure how much the resulting, downstream, loss of water pressure might be as a result. It doesn’t matter for my use case, but for indoor use cases it would matter a lot. My impression was that reduction in water pressure was minor, and would not usually be a problem.
So, now, what to do with all this power. The simplest things is to wire up some LEDs and hook them up directly to the generator with some resistors for the expected voltage. A potential real world practical use case for this would be a self-lighting fountain. And that’s what I went with here, except I also added a solar charger (find one accepting 12V+ input) and a tiny lipo battery (200 mah) to provide light for after water flow occurred, which at full charge could run two bright 5 mm LEDS for 12 hours at least. I also kept two LEDs hooked directly to the hydro generator, as I figured the solar charger and battery would fail in a couple of years, but the direct hydro and LEDs could potentially last much longer.
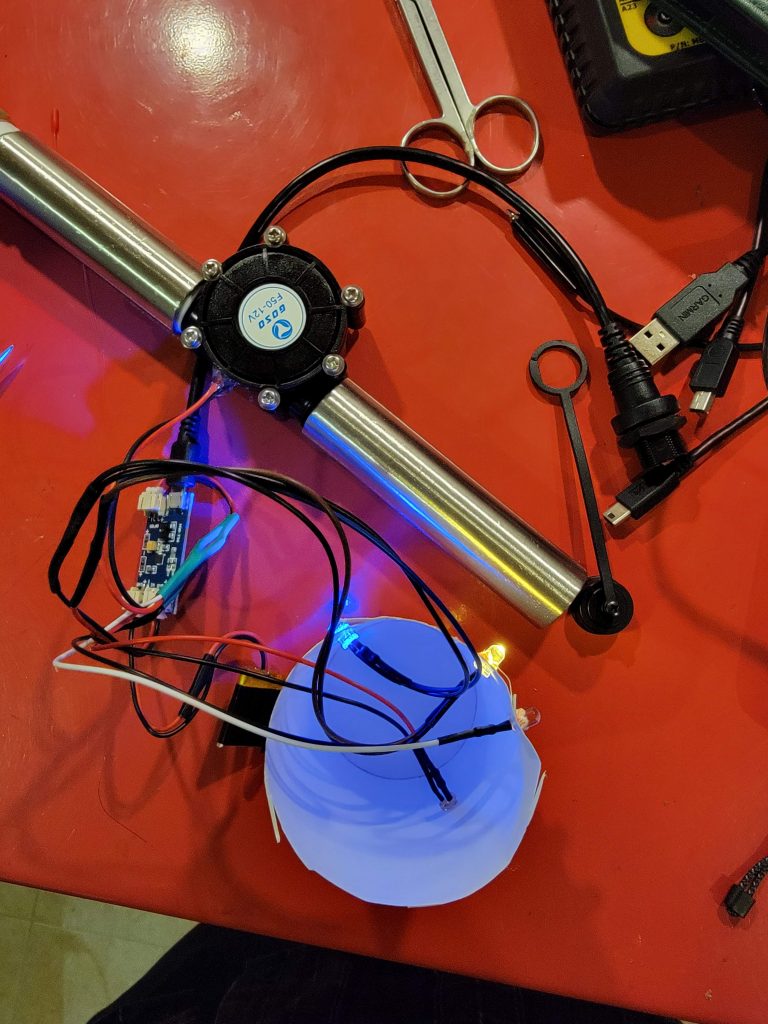
I had another fun plan, which was to use a LoRa transmitter connected to the generator to send a signal for when water was flowing, which I could then track out of scientific curiosity. For people with more consistent water flow, something like this could be used to power a remote power source. At perhaps 4 watts of sustained power, it isn’t much, but coupled to a solar charger and lipo battery (or directly to a 12V battery), would certainly be enough to charge a phone every day, or run a Raspberry Pi Zero-based project. Generally though, this is going to be stuck firmly in the realm of ‘fun hobby project’ rather than anything particularly practical.
In general, solar power is going to be a much more practical (and cheaper) approach to powering any electronics in the field. It also has the advantage of fewer moving parts to break, and sun being easier to find than streams. Not to say this is bad, I think it could be useful in niche environments, but generally it will be easier to use solar.
One final step: weatherproofing. As one can imagine, submerging electronics in a stream of water is a quick recipe for everything dying. Solution: epoxy. Or to be exact, ‘potting compound’. I stuffed all of my electronics in a paper cup, then filled that cup with epoxy compound. When it dried, I spayed everything with a UV-resistance acrylic coating. I also used stainless steel pipes and brass couplers, which would last longer than something like PVC. In total, I spent around $100 on this project, although it could have been done more cheaply. The biggest costs were high-quality pipes and couplers and the potting epoxy.
And, it works! When it rains, I get light! All hail the light bringer!
